Setup your merchant account with Integrate Payments First.
1. Go to E-Commerce > E-Commerce Setup in the navigation bar.
2. Click on Payment Options in the settings menu.
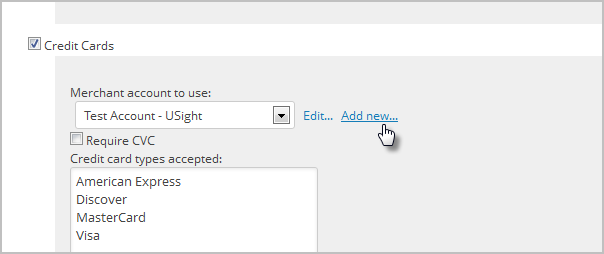
3. Click the Add New link to setup your merchant account.
4. Select Network Merchants from the Merchant Account dropdown.

5. Add the Integrate Payments Account Information. Some of this information must be obtained from Integrate Payments

Name : The name should be short and descriptive. It is used to identify this merchant account in various lists throughout Infusionsoft.
Username : Enter the Username you use to access your Integrate Payments account.
Password : Enter the Username you use to access your Integrate Payments account.
(Optional) Account Limit: This field is used to set a maximum charge amount for this particular merchant account. If you are using the Round Robin merchant account option, enter the amount the system uses to determine when to stop using this account. When this limit is reached, the system will trigger the Round Robin and start charging the next account.
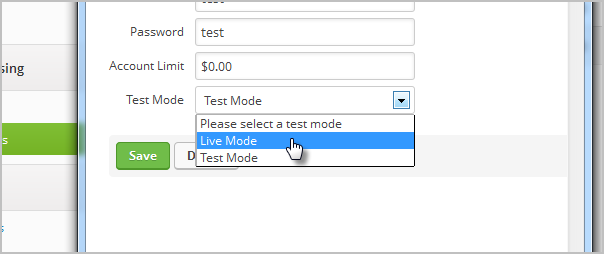
Test Mode : Set this to Test Mode when you are testing the integration. Come back and set it to Live Mode before you begin processing orders through this account.
6. Click Save to create the Integrate Payments account.
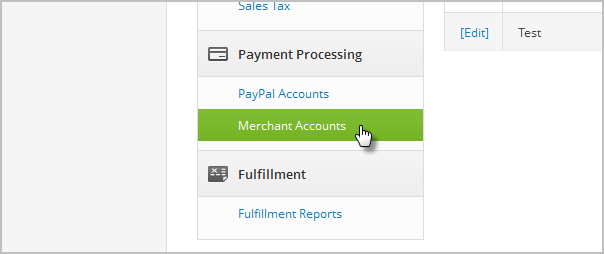
7. To test your account, go to E-Commerce > Settings and click on Merchant Accounts.

8. Go to the Test Account column and click on the link to process a test charge.

9. Enter valid billing and credit card information to run a test charge.
10. When the test charge processes successfully, edit the account to switch from Test Mode to Live Mode.

Every merchant account will have to stay compliant by completing a SAQ Self Assessment Questionnaire every year or they will be charged a monthly PCI non compliance fee. PCI monthly & annual fees may still apply to a merchant account based on PCI Tier level of business.


